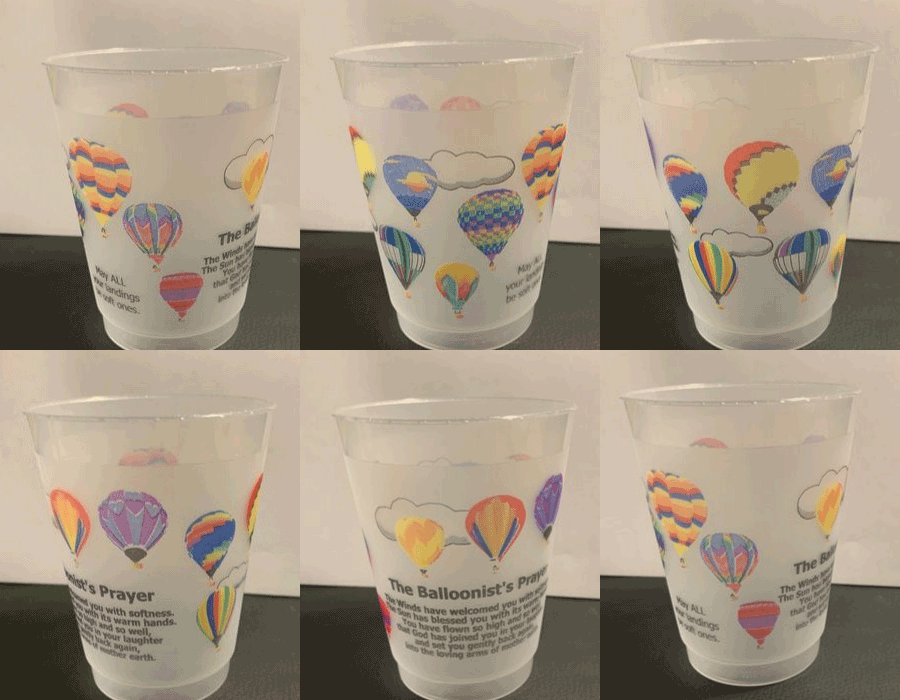
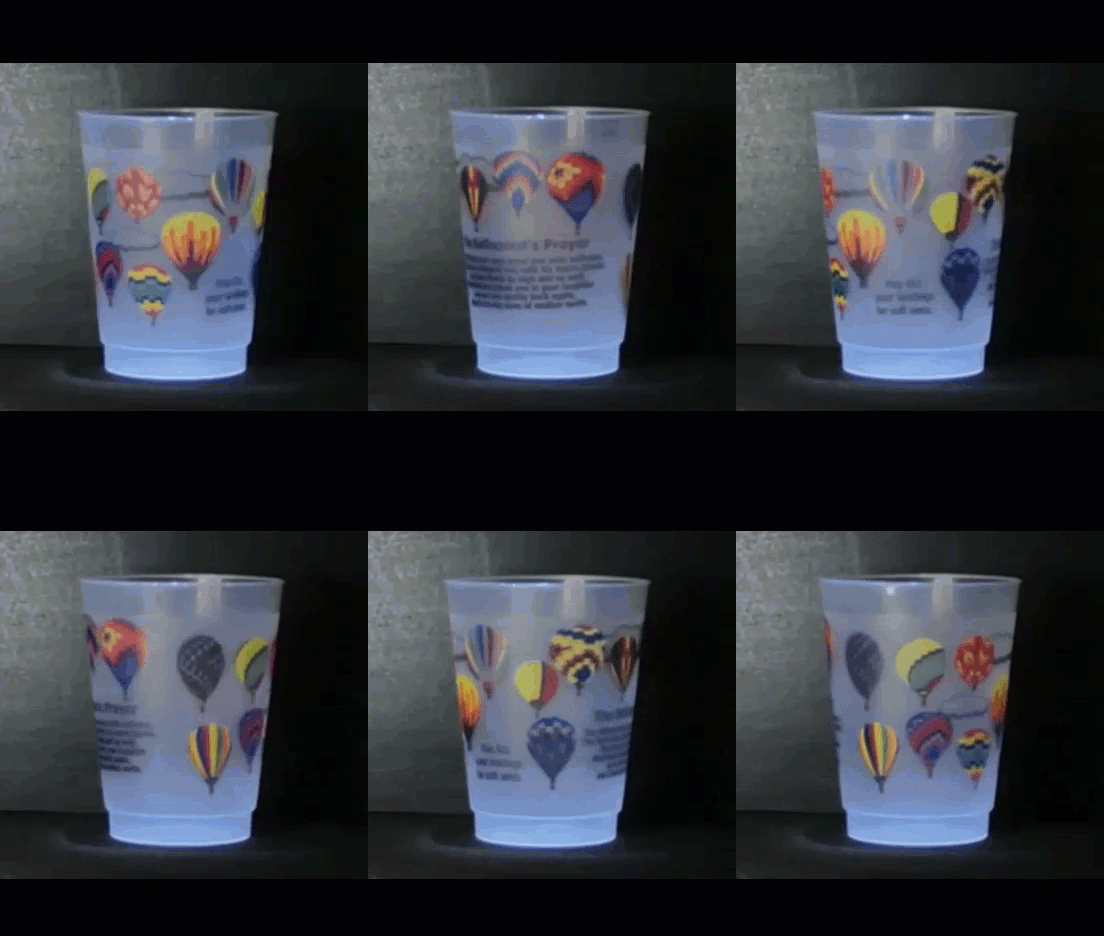
How do I get my balloon on a cup?
Getting a custom balloon cup is a very long and fairly complex project. There are many steps along the way and it can take a couple of months to get the finished product. Many have asked how they can get their balloon on a cup so I have decided to explain the entire process.
First we need 14 balloons for the cup!
What if I just want a cup for my balloon? Sure you can do that if you want. A minimum run of cups is 50 cases! That's 25,0000 cups! I ran a medium sized ride company, flying between 1500 and 2500 passengers a year. At the end of 13 years we still had cases left over, and we gave every passenger a cup! So if you have a need for that many cups, then you can contact me directly Cups@Balloons-andBeyond.com and we will help set it up for you!
Digitizing Balloons
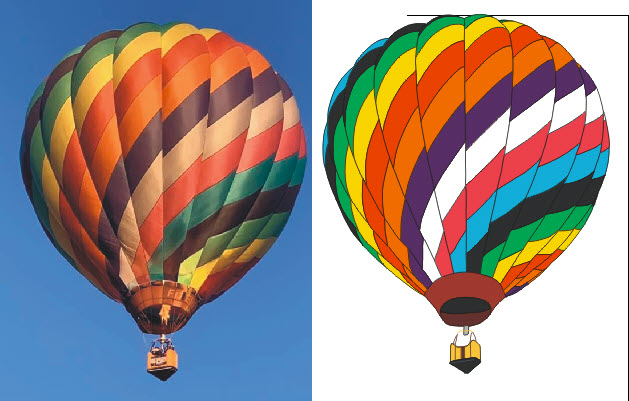
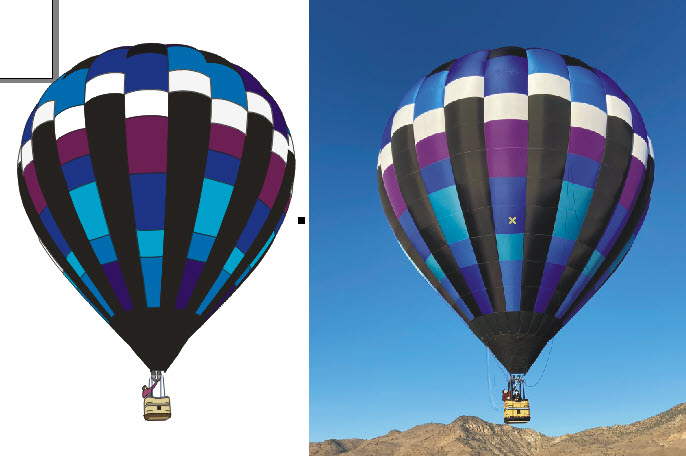
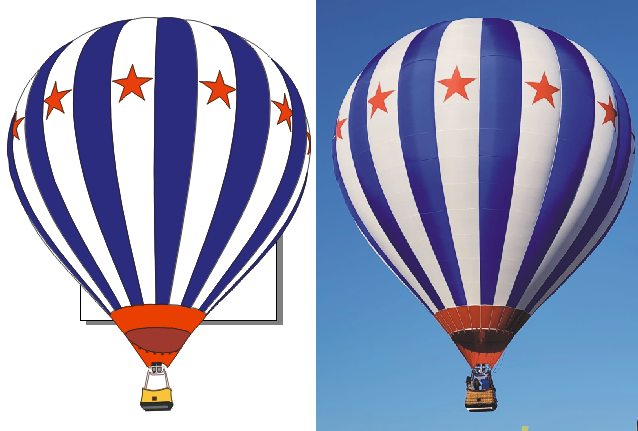
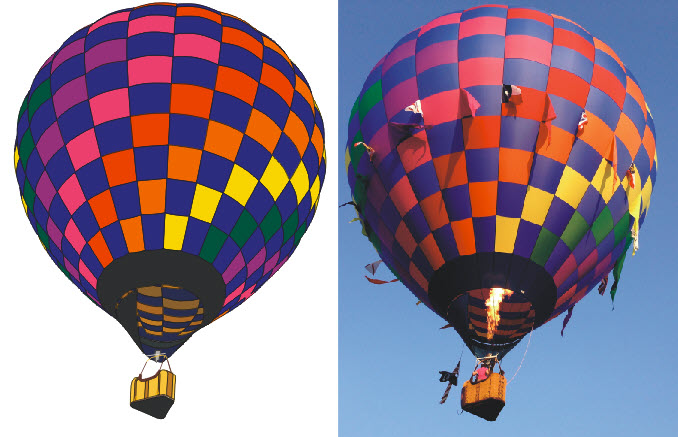
We start with a high resolution image of a balloon. We import this image into our cad program where we carefully trace every 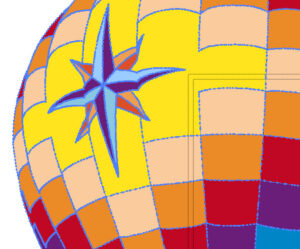 seam of the balloon. We add PMS Pantone colors to match the balloon as closely as we can to give the finished digitization a real life look! This process generally takes a couple of days per balloon and can have as many as 12,000 data points. Once we are finished with the Digitization of the balloon we save the original file and create a copy of the image. We use the secondary copy to make any needed alterations. We also save the image in a PNG and AI formats for the cup manufacture's graphics department.
Laying out the cup
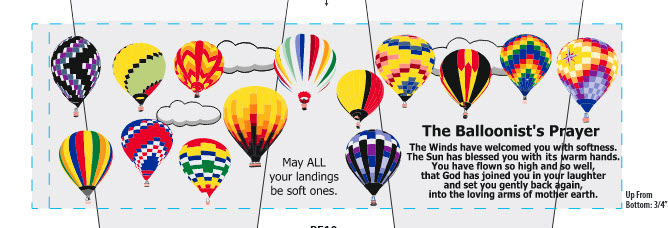
Once we have all 14 balloons digitized we begin to layout the artwork for the cup. This process can take several days. We begin by creating the basic layout for the cup without the balloons. We add the Balloonist's prayer and the normal salutation "May all your landings be soft" and toss on a couple of clouds. We then begin the process of adding balloons. Adding balloons can be rather tricky.  You must look at the colors of the balloons because you do not want too many dark colored balloons together or too many light colored balloons together. You want the perspectives to be somewhat correct too. A balloon that has had a photo taken looking down on a balloon should not be placed on the top of the cup. Photos taken looking up at a balloon do belong at or near the top of the cup. You do not want too many spiral patterns together and you do not want to place a balloon that has white on or near a cloud. The printing process does not print white since the cup itself is a frosted cup. If you have a balloon with white, this will allow items placed behind the balloon to show thru the balloon. So as you can see there are many things to take into consideration when laying out the artwork for the cup.
Consolidating Colors
By the time you have digitized 14 balloons you end up with about 20-30 colors used. The printing process uses 6 printing plates to create the cups. That means printing will use only 6 colors! So I create a spreadsheet for each balloon and write down all the colors used in each 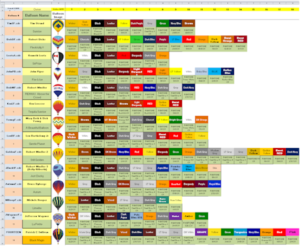 balloon. Once I have the color chart created I go back over each balloon and try to consolidate the colors into as few colors as possible. We carefully go over each balloon to make sure that we are using the same color for all the wicker, the same color for burners, leather and more. We also try to get the primary colors in the same PMS family so we can use a shading process to create several colors of Red, Blue, and Yellow. For example a Yellow Pantone can be combined with a purple or burgundy to create different shades of brown. Silvers can be used for the burner and can be shaded to create several levels of gray. Once we have the colors whittled down as far as we can, we hand that over to the graphics department at the manufacture for them to blend and scale the colors.
Submitting the files
Once all of the graphics work has been done it is time to send the files off to the manufacturer's graphics department. We send more than 45 files for each cup. There are three files for each balloon. There is an overall layout file plus several additional files such as cloud images and text files for the cup. Occasionally we have to send the files in batches because of the file sizes. Everything has to be clearly marked so nothing gets lost in the process.
Then the alterations begin.
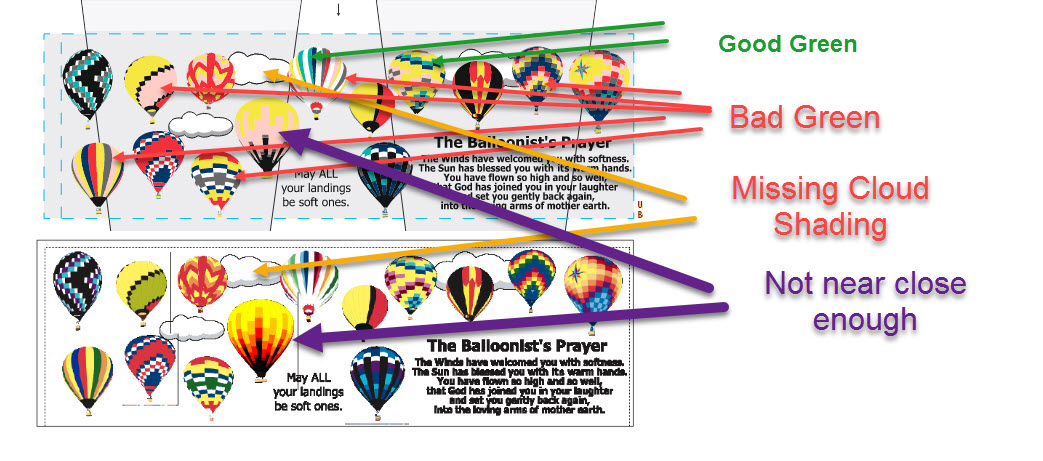
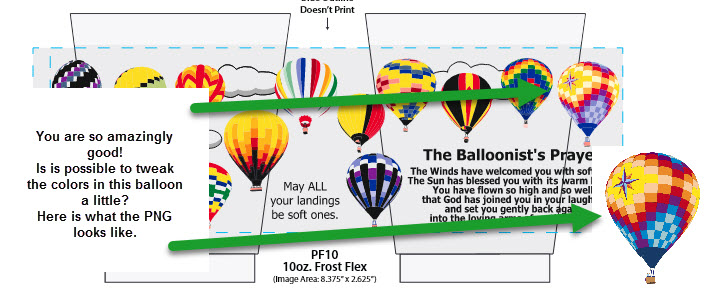
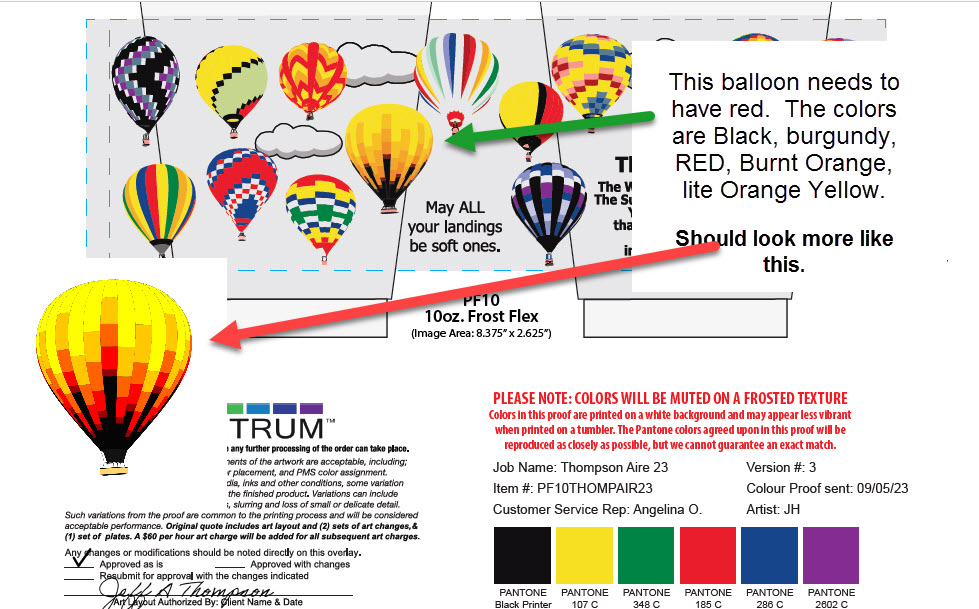
Now we go back and forth between the graphics department and me. They will send me a proof and I will send them back the changes that need to be done. This process can take several days to get the proof to look as good as we can make it before sending off to production. While we try our best to match each balloon perfectly there is only so much we can do using only 6 colors. Here are a few images of changes that have been requested for just one cup layout.
Here is a side by side sample of what was submitted and the final proof.
This is the image of what we submitted

This is the image of the proof (after the requested alterations)
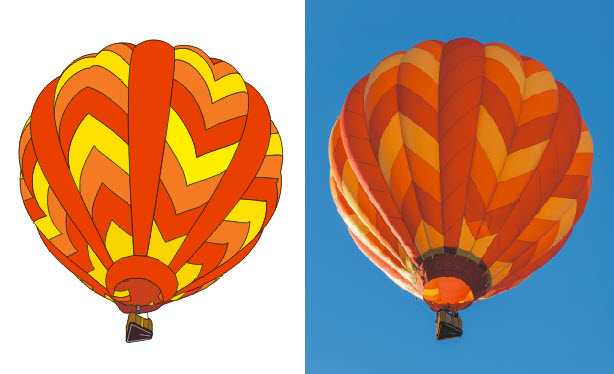
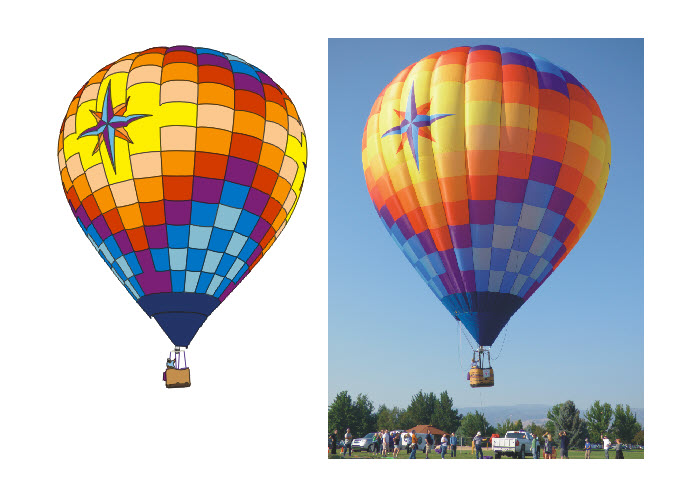
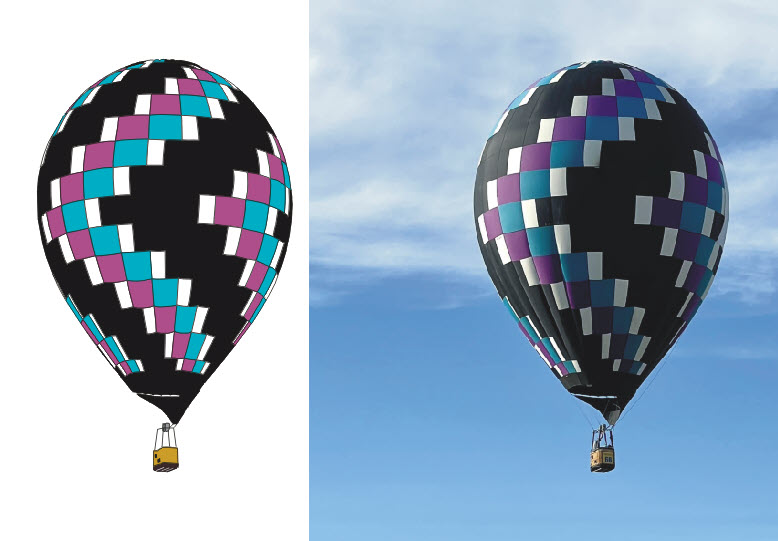
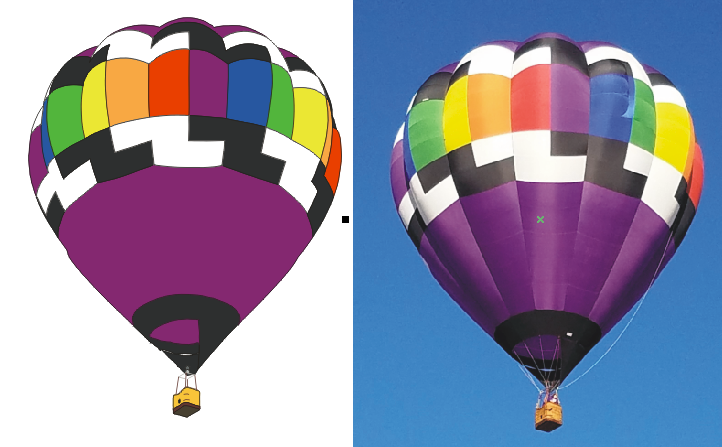
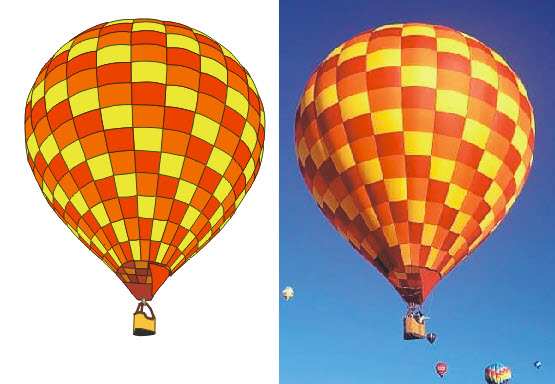
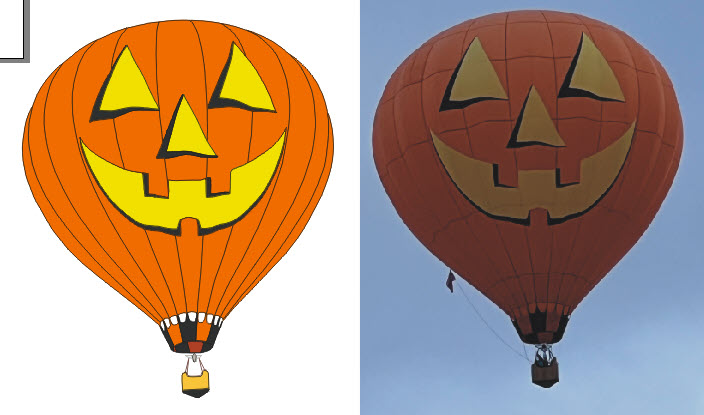
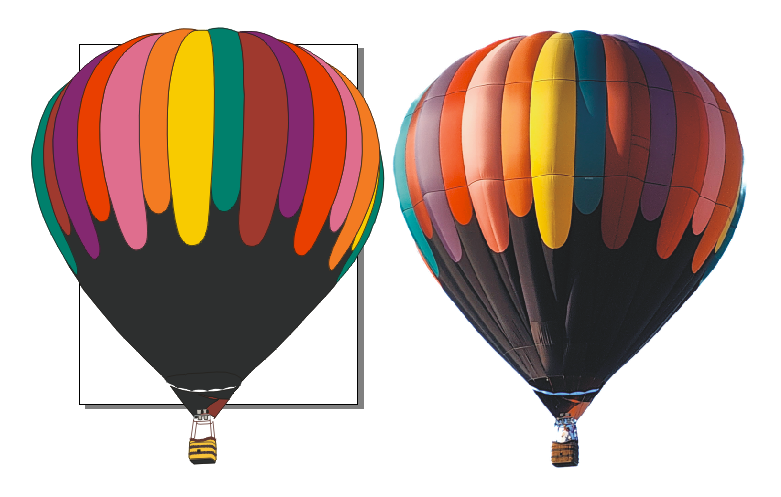
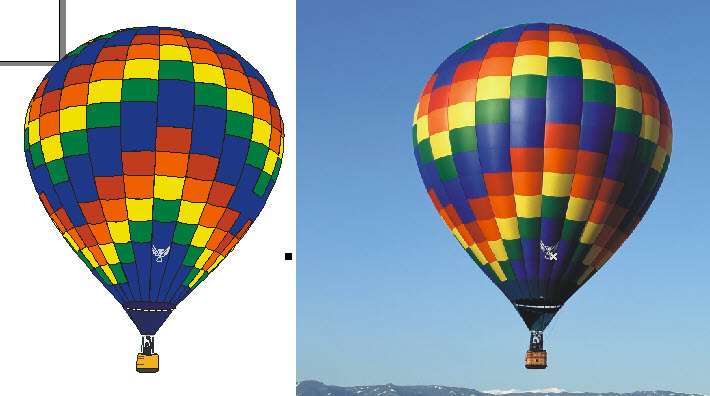
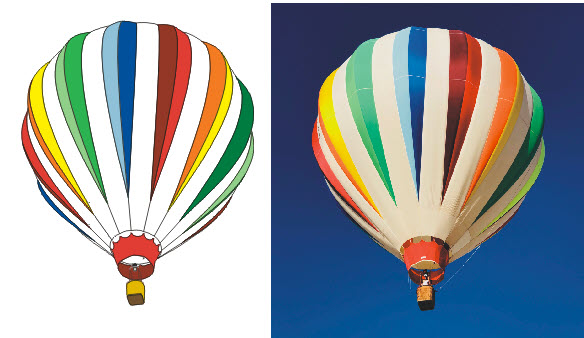
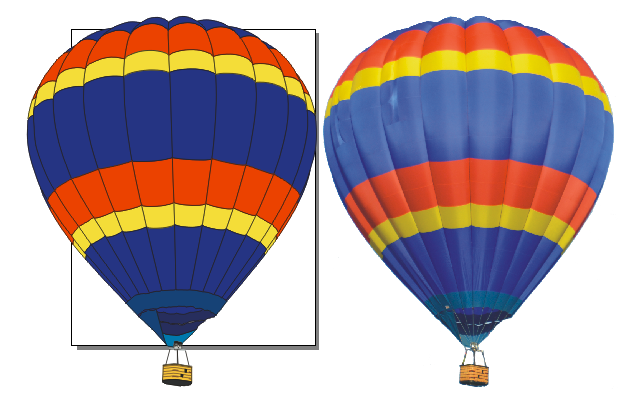
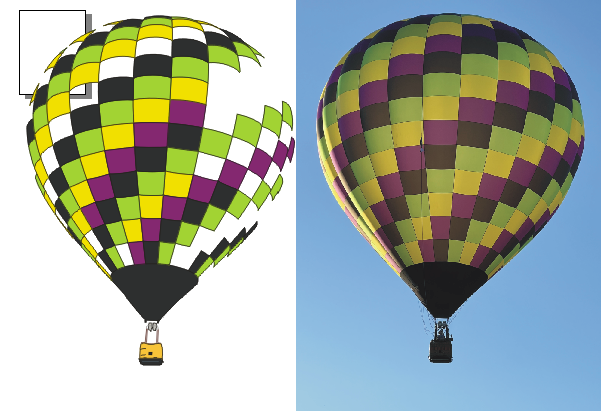
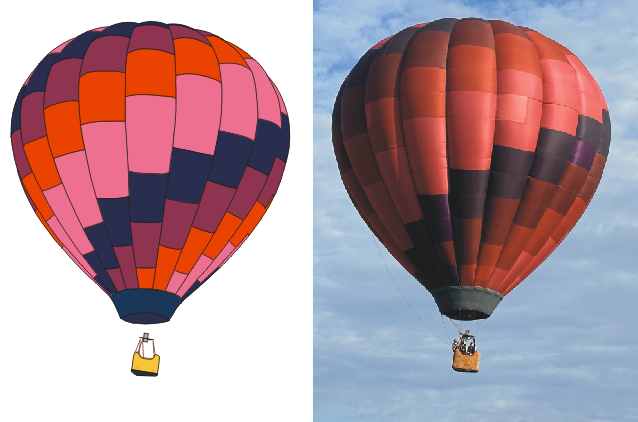
The final proof was created using only 6 Colors

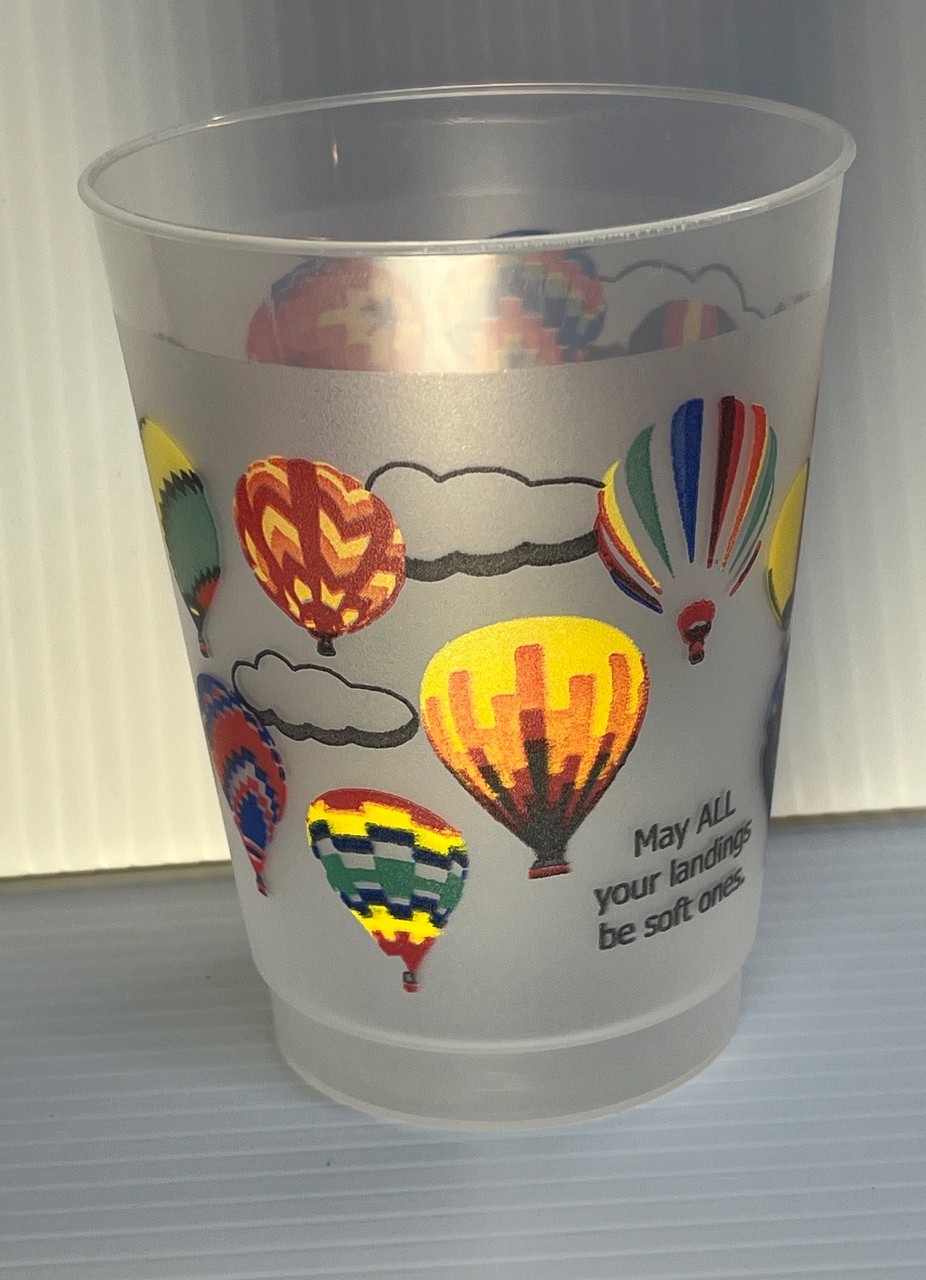
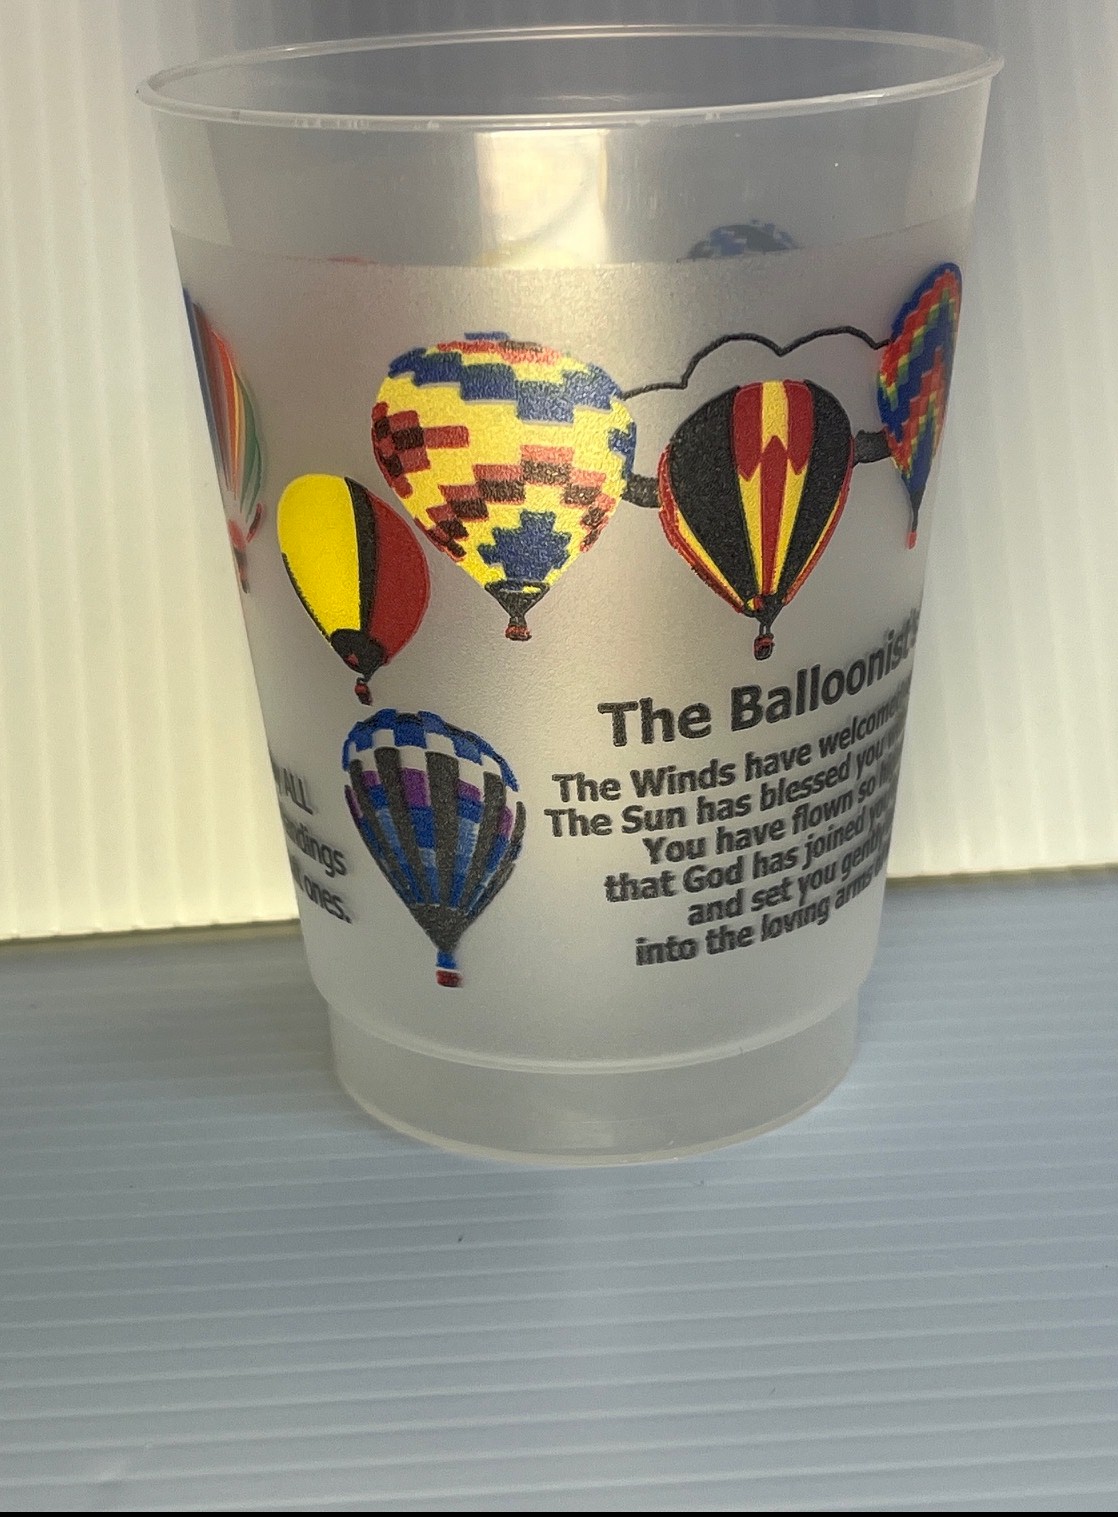
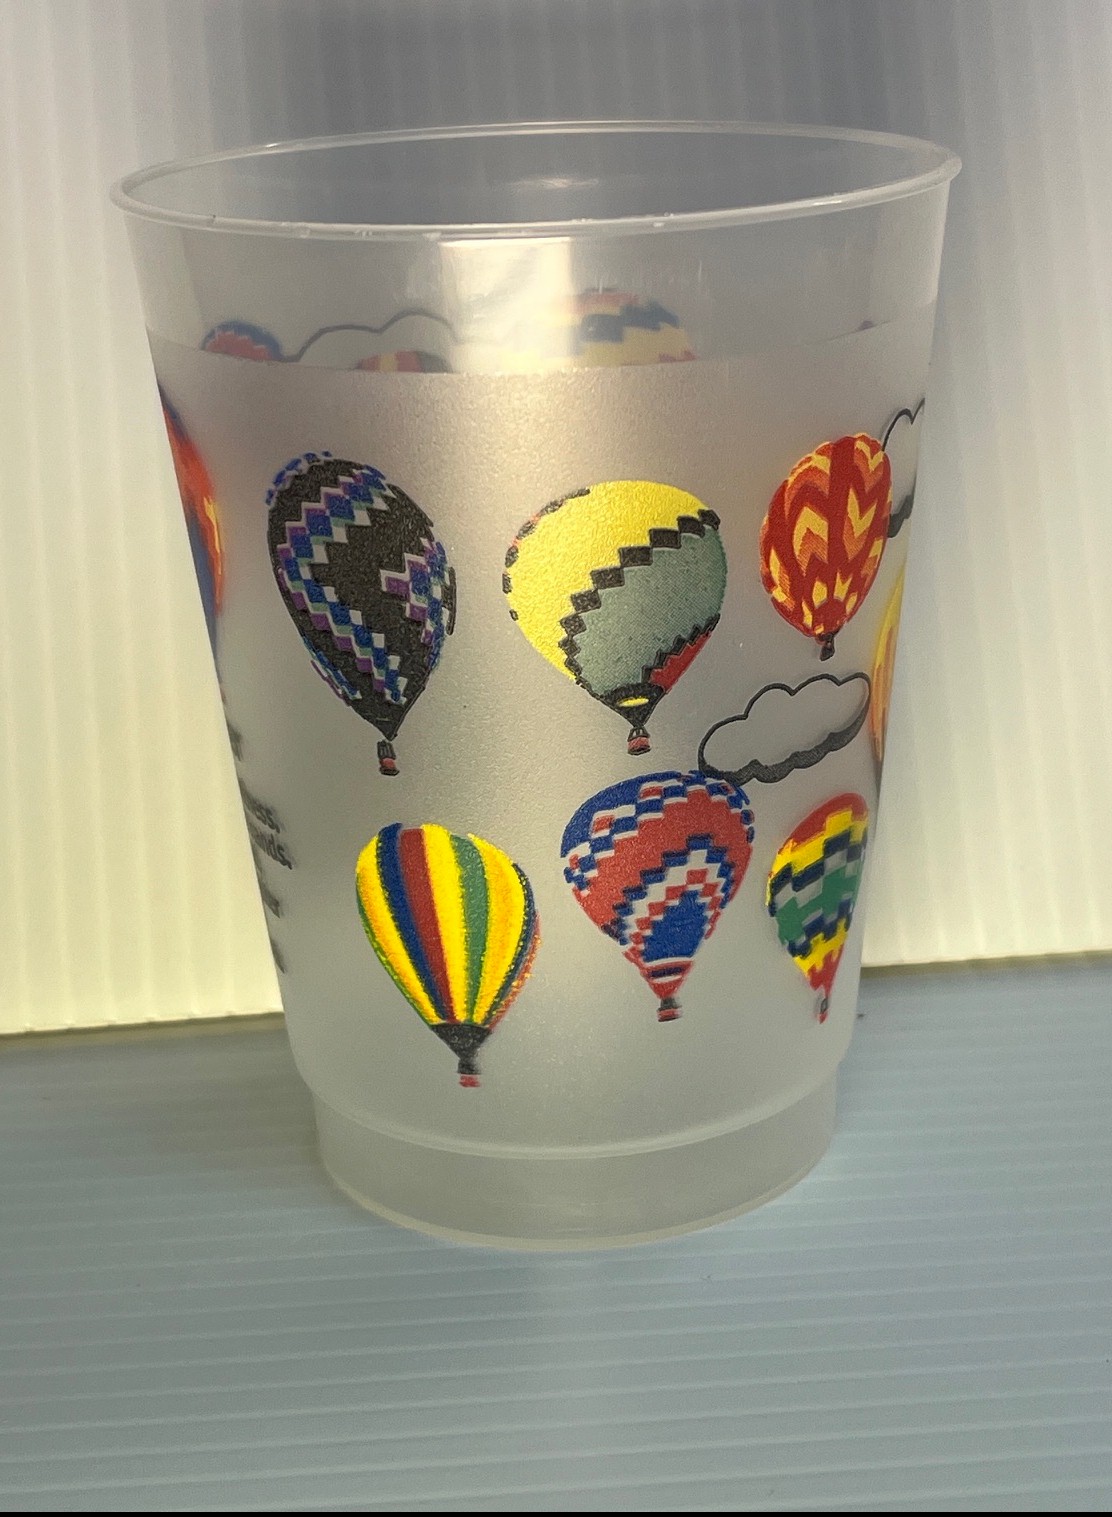
We realize that not every balloon comes out perfect. We are limited by the number of printing plates used to produce the cups. With only 6 colors it is nearly impossible to create each balloon in the exact colors used in the balloon, however, we are super pleased with how the finished product looks. Here are some close up shots of the actual cup from the proof above.
Pay for the cup and off to production
Once the final proof has been approved it is sent to the finance department for payment and then on to production. We have found out that the manufacture has 5 machines that they use for production of the custom cups. Each of these machines are the size of a semi-truck and takes 5 guys to run. Sometimes it takes us 3-6 weeks to get on the production schedule. Once we are on the schedule, they can produce all the cups in just a day or two. My contact in the graphics department is very good at letting me know when we have been scheduled for production and we can expect the cups to show up at our shop in 5-7 days after the date of production. At that point we have all the shipping labels pre-printed so we can slap them on the cases of cup and get them shipped out that very same day!
